A 10-step guide to installing a sliding door system
Sliding door systems are an ideal solution for a variety of applications – from a large industrial door that allows machinery and vehicles easy access, to a bathroom door that maximises the amount of space saved by not having a traditional swing door. However, it can be daunted with the wealth of options available. Luckily, there are only a few common principles to bear in mind when finding the right products for your installation.
Most systems work on the basis of having a load-bearing carry track, on either the bottom or top of the door, and some form of guidance system on the opposing side. A “top-hung” system would have a guide for the bottom of the door, while a “bottom rolling” system has the guide at the top.
The most important consideration is to be aware of the weight of the door – this will dictate the options available for your installation.
If you cannot get a strong enough fixing into either your ceiling or to the wall above your aperture, you should opt for a bottom rolling system. Similarly, if mounting a floor track is problematic, a top hung system is the right choice for you. Whichever system you are looking at, you must always make careful consideration of the guide you will be using – to achieve correct and safe operation, they are as important as the hangers or wheels carrying the door.
A typical installation would have the door slightly larger than your aperture, to ensure that when the door is closed the opening is fully secured. Your track should be a minimum of 2 x the width of your door. Whether using bottom rolling wheels or top hung hangers, the wheels or hangers should be fitted 1/5th of your door’s width in from either end – for example if the door is 950mm wide, the hangers should be installed 190mm from each edge of the panel. You should not use more than two hangers or wheels per door.
The height of your door should take into account the installation of your chosen guide.
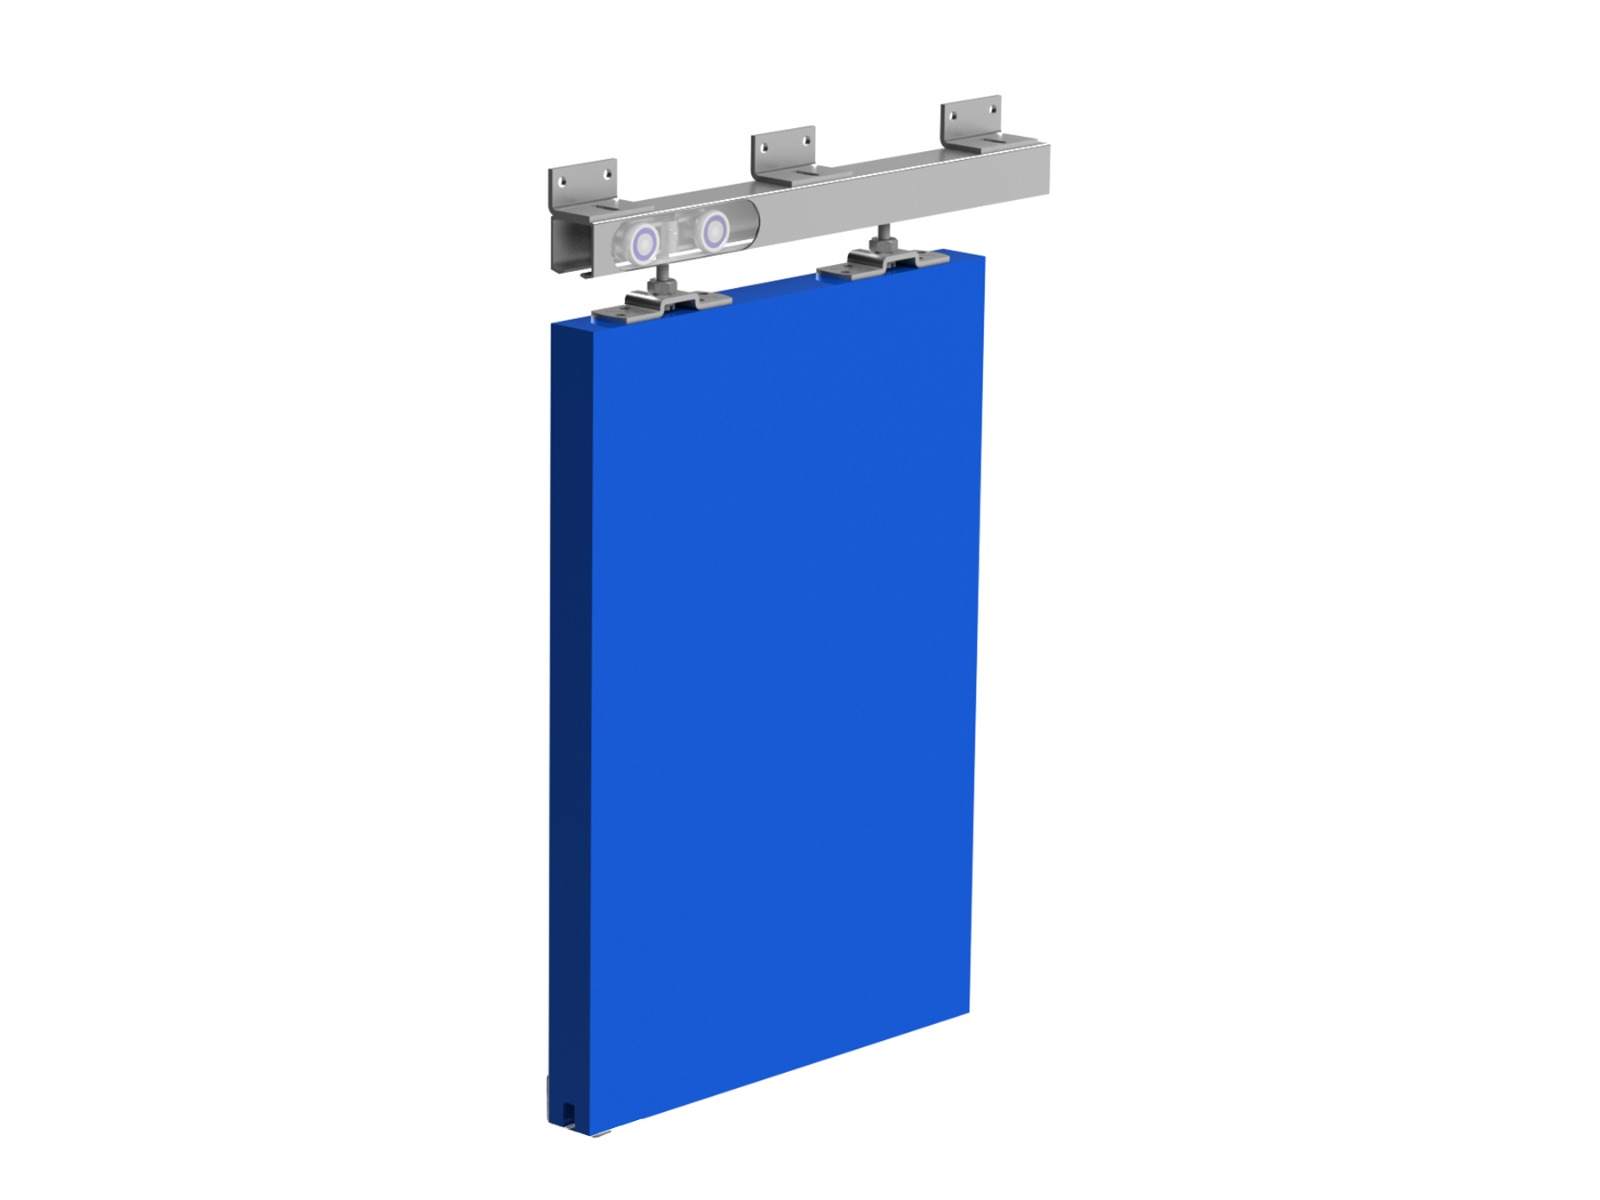
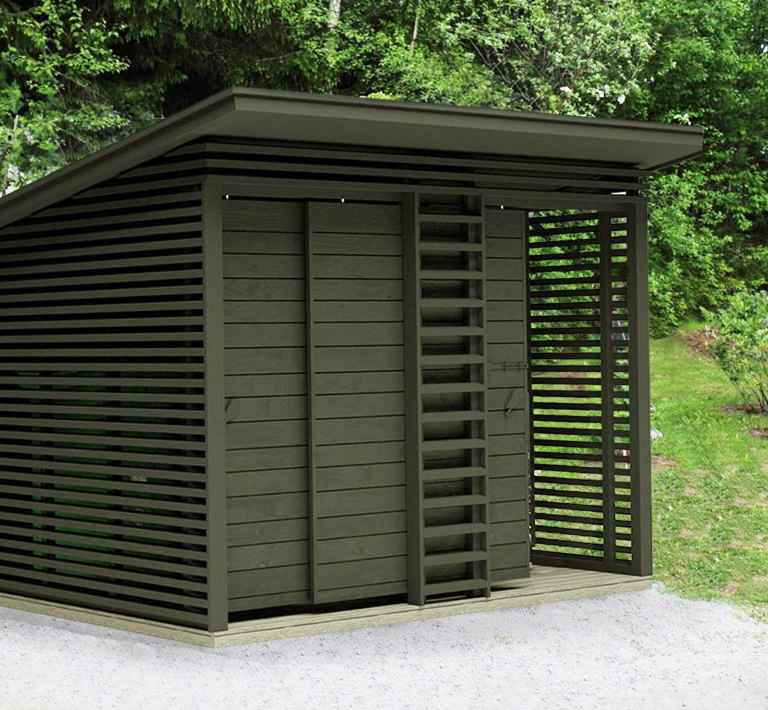
The most popular sliding door system at Barrier Components Ltd is the high-quality K075 range. Suitable for doors up to 100kg, this top hung system features a pair of hangers each featuring four bearing-loaded wheels. These wheels are available in either steel or nylon. The hangers can be mounted to the door using either a steel top-fix mounting plate or, in the case of doors less than 35mm thick, a steel face-fix plate. The steel track is pre-drilled for direct fixing, but we also offer a range of mounting brackets for soffit or wall-fix applications. This system is ideal for workshop doors, sheds or summerhouses and storage cages.
Below is a simple 10-step walkthrough of a typical top hung wall-fixed external K075 installation:
Based on a 35mm thick, 950mm wide door.
Components:
1 no. 2m K075 Steel Track
2 no. PPS075 Steel Hangers
2 no. KP075 Stops
2 no. PK075 Endclips
3 no. SKU075 Brackets
1 no. 40/25 Guide
1 no. AOK Guide Channel
- Ensure walls and ceiling are level/plumb.
- Brackets for the K075 should be used at both ends of the track, and at 1000mm increments, so for a 2m length of track, 3 no. brackets are required.
- Slide the hangers and stops inside the track, and slide the SKU075 brackets over the outside of the track. Ensure the brackets are spaced evenly. Using a spirit level to ensure the track is straight, mark the holes on your wall required to fix the brackets – if you have joists, beams or support posts, it is recommended that you fix into them for the most stable and secure fixing.
- To determine the height you set the track, you should allow a minimum of 35mm clearance between the top of your door and the bottom of the track. Allow a minimum clearance of 12mm between the bottom of the door and your floor.
- Fix the brackets to the wall. If you are installing alone, fix the central brackets first to support the weight of the track before fixing the outer brackets. On the top of your door, mark 190mm from each end, and install the top-fix hanger plates.
- Rout the bottom of your door to accommodate the AOK Guide Channel. The cut should be central and straight.
- Lift the top of the door up to the track.
- Slide the bolts from the hangers into the top-fix plates on the top of the door. The bolts have a non-threaded section to allow some height adjustment using a spanner to turn the bolt inside the body of the hanger. When satisfied with the position of the door, tighten the nuts onto the top fixing plates to secure.
- Screw or bolt the 40/25 guide into floor, at the edge of the aperture where the door overlaps the opening – set the position so that the guide is in the track inside the door at all points of the travel.
- Set and fix the stops in the track. Not only do these stop the door from exiting the track, but as the stops make contact with the hanger and not the door, they also prevent damage to the door itself. Insert the PK075 Endclips. These prevent the track from moving laterally inside the outer brackets.